5. Prepare Estimate
One of the best things you can do for your business, and your customers, is drastically reduce the time between being contacted and giving them an estimate. When you navigate to the estimates screen, you'll see that there's now already an estimate for you.
Qualifying
Click on the estimate in the qualifying lane, and decide if you want to accept the jobs, or reject any of them. Once done, move to the estimate to the Preparing state.

Note: If you're a small business that has one person qualifying leads and preparing estimates, then you should turn off the estimate qualification step in the workflow settings.
Preparing
What if you want to change the cost and price of the jobs? The best way is to use the property difficulty settings! Click on the property card, and it will flip over to reveal the property metrics, and difficulty settings. This way you can adjust the property metrics if they happen to be incorrect.
Note: Getting the property difficulty settings correct is an important step to automating the estimation process for your business. This is especially important if you want to use the pre-approved estimate workflow for even faster turnaround of estimates for your customers.
If you insist, you can also change the name, description, cost and price for each job. Take some time to see what happens when you make edits. However, keep in mind that these changes affect only this invoice, and you'll likely need to make the same adjustments again next time.
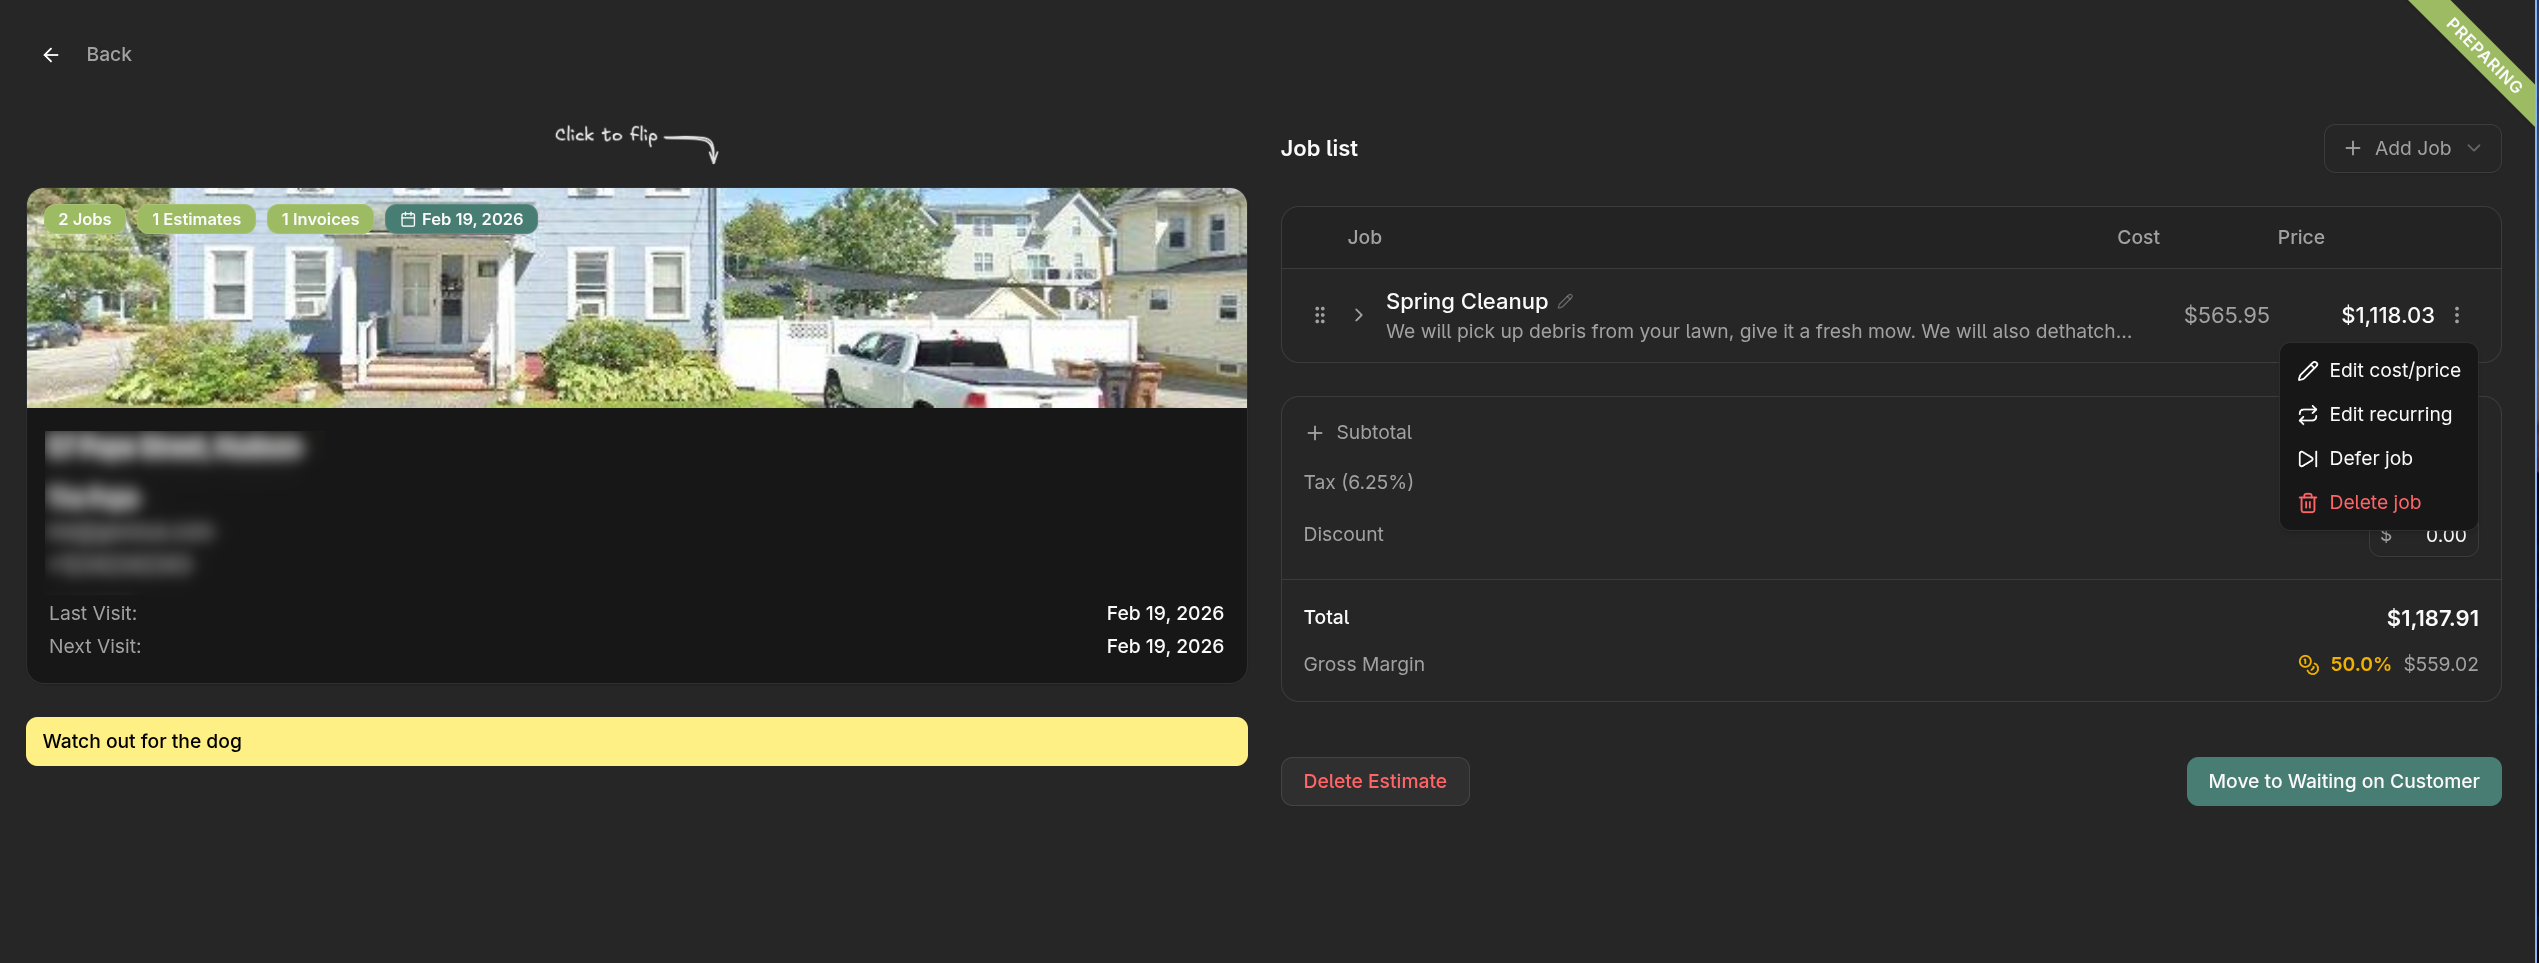
Changing the property difficulty settings are the best way to change the estimate, since these difficulty settings will be applied to all future estimates.
Note: The property difficulty number represents the percentage that will be added or removed from the labor of the job. It won't affect the dump fee or the materials, since those are fixed to the property metrics.
For the mowing job, make it recurring by adding a quantity of 10. You'll see that the estimate will show the cost per mow, but also the total cost for all the mowing jobs.
Reviewing
Once you're happy, move the estimate into Review. Here you can play with some of the settings, and be sure to mark it as approved before moving onto job scheduling.
Note: Your customers can approve or decline the estimate themselves. When they do, you'll see the estimate automatically move to the completed lane. The estimate will stay visible in that lane for 5 days, after which it will be hidden.